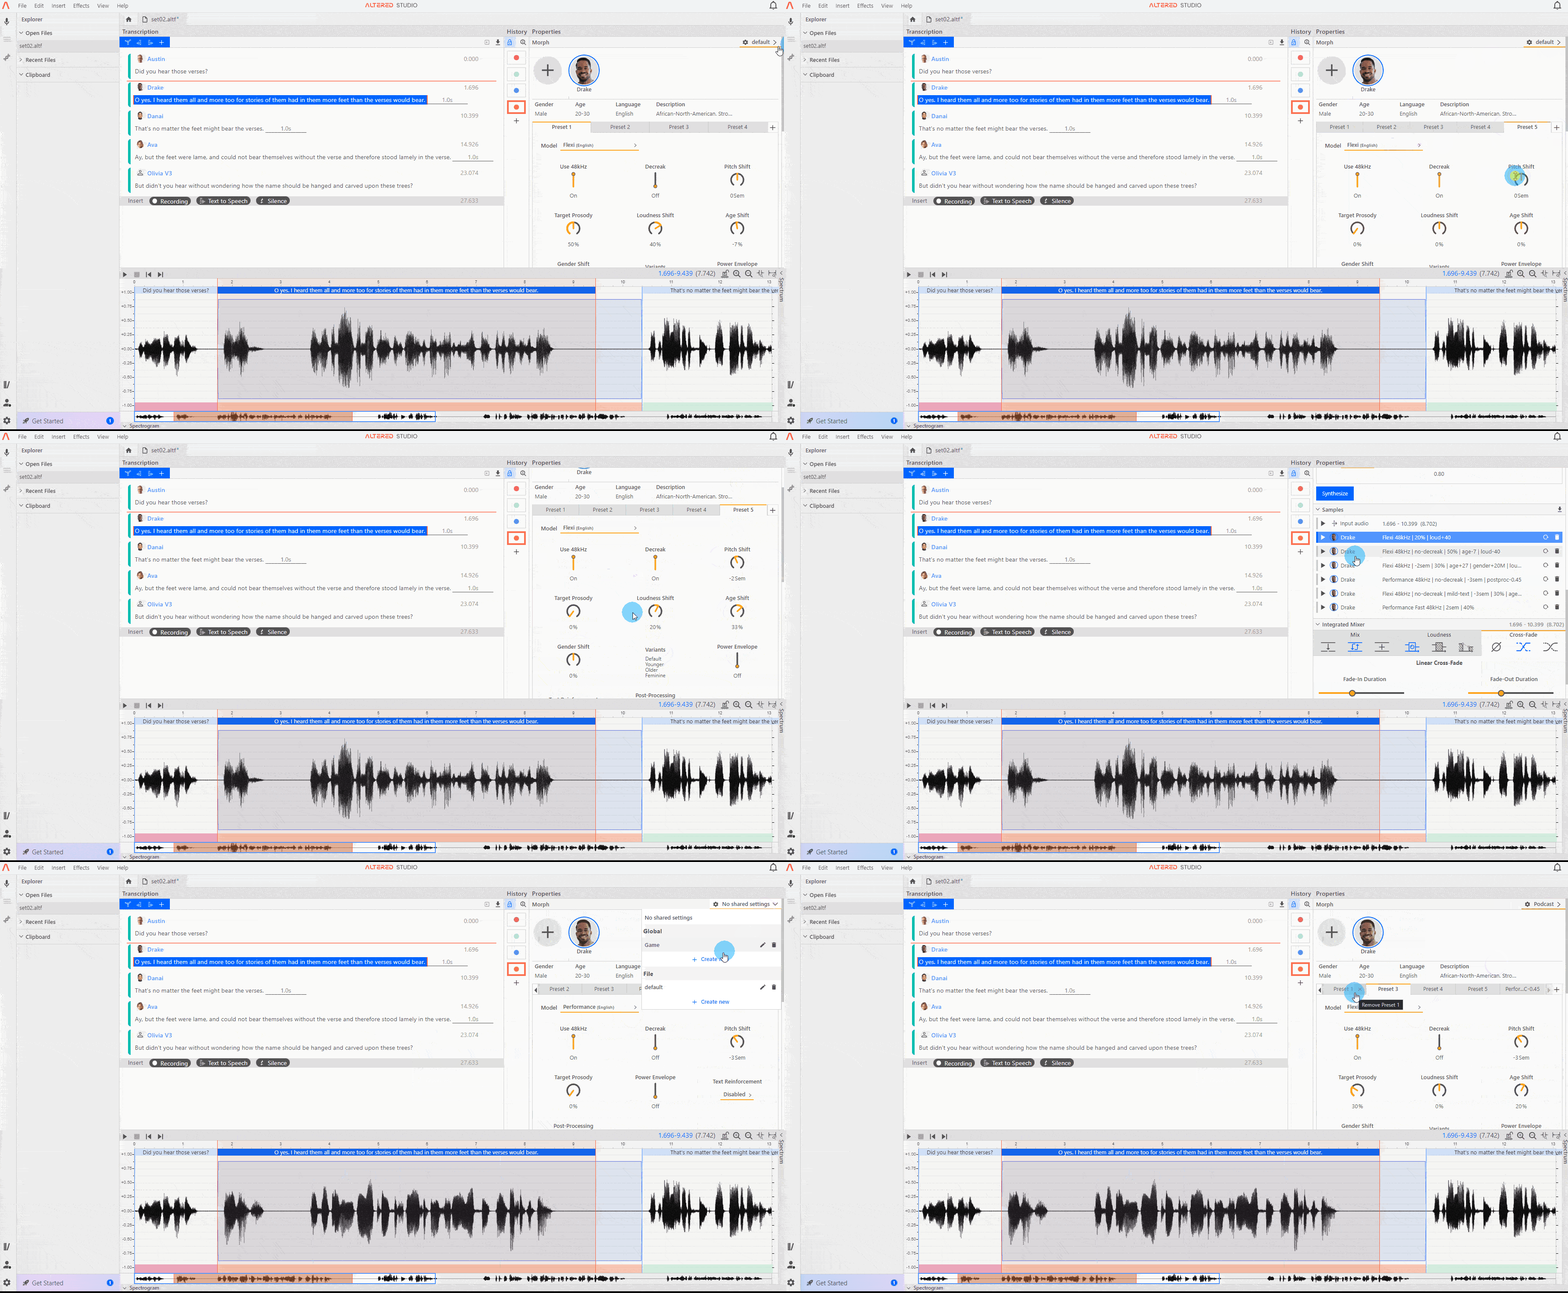
1. Once you have crafted your preferred Voice settings you can save these as a Preset for easy access in the future or for use in Batch Mode.
2. You can create multiple variant presets for each Voice by using the [+] button on the right side of the Preset bar, each with its own combination of voice settings. Presets can also be created by right-clicking on a morph sample and selecting Export Preset.
3. Presets are saved in groups, either on a file or global basis, using the ⚙ Shared Settings menu in the top right of the Morph Properties panel. To save your preset group, first create all the presets you require for one or more voices, then select + Create new under either Global or File in the Shared Settings menu. Be sure to use a name which makes it easy to remember which voices are in the saved preset file.
4. Both Global and File presets can be used in any other file or batch, however Global settings will always be available, whilst File settings will only be available when the file under which they were created is open in Altered Studio.
5. To load saved Presets, choose the saved settings file from the ⚙ Shared Settings menu. Note that loading presets will override any current voice settings in the file you are working on.
6. Presets are saved automatically when changes are made to settings or voices. If you don’t want to lose your original settings, you should save a new preset prior to making any changes.
7. You can rename or delete saved Presets in the ⚙ Shared Settings menu.
8. For information on how to use Presets in Batch Mode, refer to Working with Batch Mode.
9. You can create presets for both Morphing and Text-to-Speech effects for easy access to your favourite voice configurations. Note, these presets work separately and cannot be shared between the two effects.