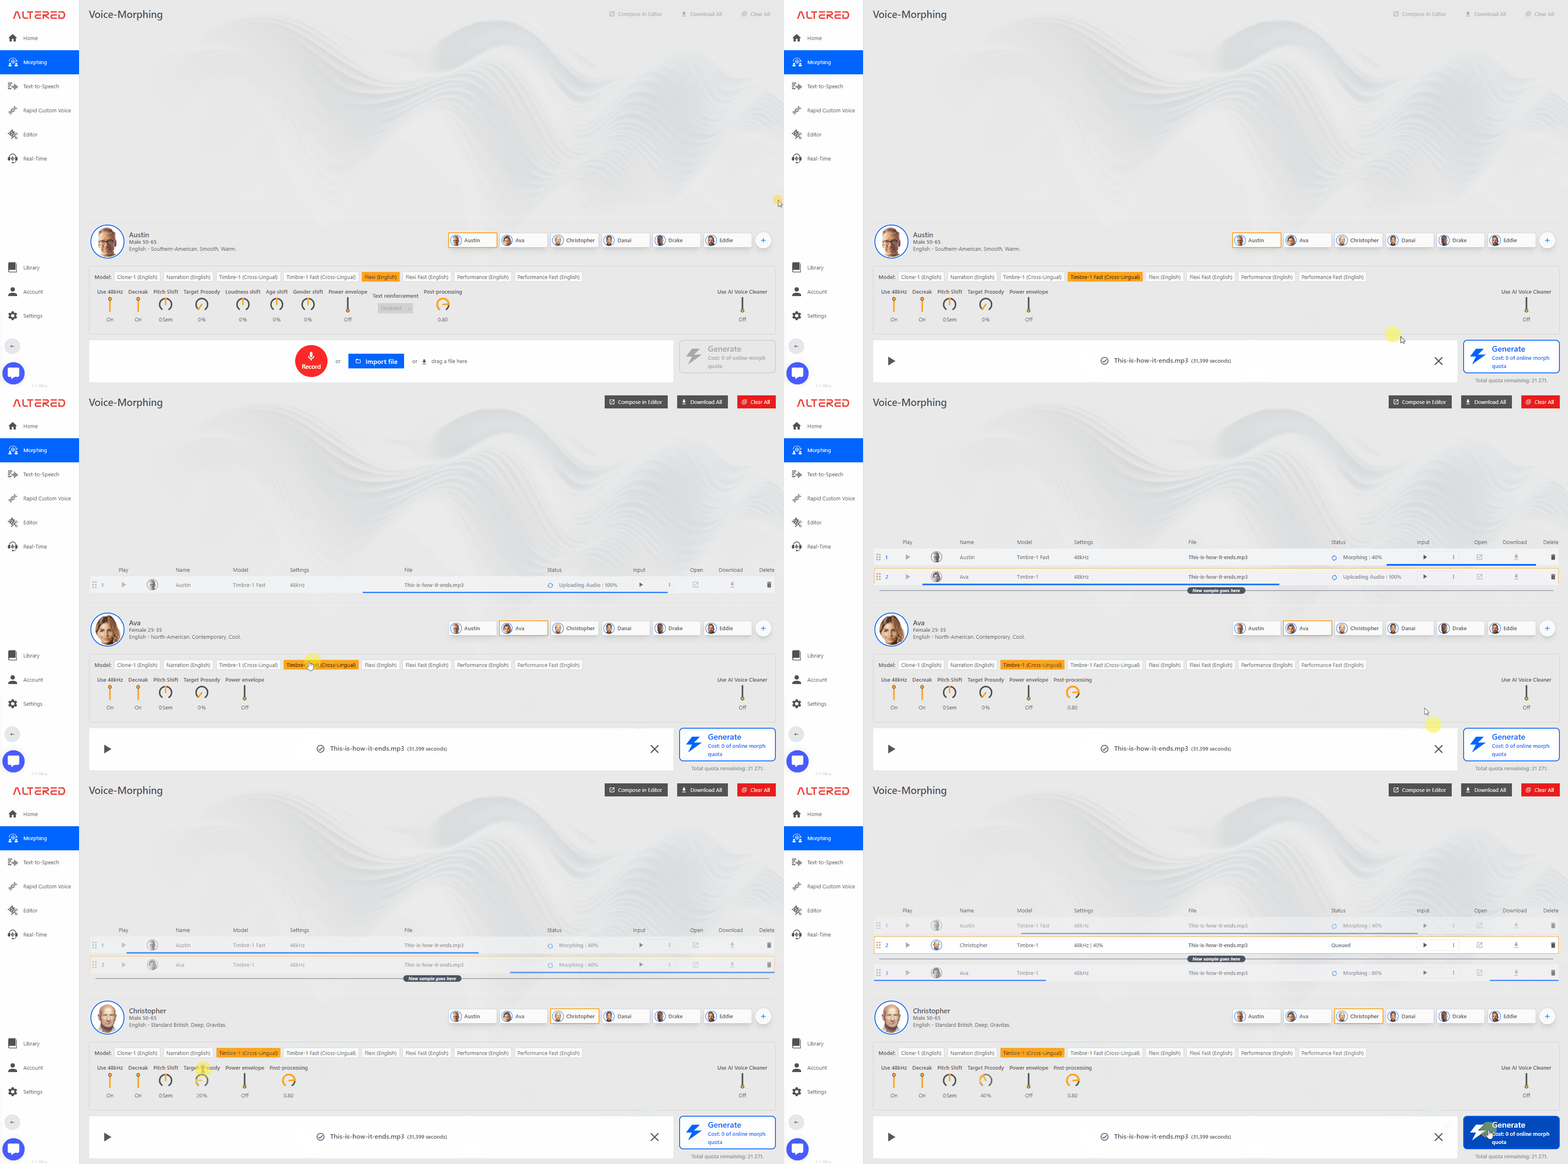
Morphing audio files in Altered Studio is the process of using Speech-to-Speech synthesis to change your input voice into a new ‘target’ voice. The process is described in brief below, with a more detailed explanation following.
Record directly into Altered Studio or import/drag a file to open it for morphing, using the controls in the white box at the bottom of the screen.
Choose your voice and select a Model (for example Clone for English inputs and Timbre for non-English inputs). A few voices are shown by default, more can be selected by using the (+) button on the right of the voice panel.
Set the voice controls for your morph. These are explained in more detail below, however the default settings do a good job to start.
Once you're ready click Generate to create your Morph sample. You can choose more voices and adjust the settings to generate different samples in quick succession. Remember, with Morphing your quota is only consumed for the first Morph of any input, all morphs after that are free, so you can try different voices and settings to find your best morph!
When your samples are finished generating you can use the controls on the sample bar to:
listen to the morphed audio using the ▶ button on the left side
drag to reorder the list using the six dots
open the sample in the Audio Editor
download the sample to your disk
delete the sample
The morph sample bar also has controls for the Input Audio you used. These allow you to play, download or open the input audio in the editor mode.
If you click once on a sample, it will create a space for the next sample to be placed. This is handy if you are trying to generate a dialog in order and missed a line.
If you double click on a sample, it will replace the current input audio and voice/settings with the input audio and settings from the relevant sample. This is handy if you want to quickly load previously used inputs to generate a new sample, but be aware you will lose the existing input audio content and settings.
Always start with clean, raw audio, without any effects or filters applied. The speaker should be close to the microphone and background noise or room reverb should be avoided as these can interfere with the synthesis quality. Refer to Tips for Best Recording Performance for further guidance.
Altered Studio has an AI Voice Cleaner effect which can be applied prior to morphing. This effect will reduce background noise such as fan hum, but won’t remove louder noises. It can be used to improve the synthesis results for files with low-medium levels of consistent background noise.
The available Models are shown above the morph controls. These will vary depending on your subscription level and you may not have access to all types. Different models are designed for different use cases (see below).
Timbre (cross-lingual) models are designed for non-English inputs. These models are the only ones which don’t convert accents and are best suited to preserve characteristics of the accent, sounds and emotes from your input performance. Age, Gender and Loudness shifts are now available in Timbre.
Clone (English) models are designed to sound more like the target voice than the Performance voices do, and are less influenced by the input speaker than the other voices.
The Morph panel contains several other settings that will change the morph output. The settings available may change depending on which model is used.
Use 48kHz generates the output of the synthesis at 48kHz, if this is not selected then the output will be generated at 24kHz by default.
Decreak corrects minor vocal fry/creak in the source file, to provide a clearer synthesis output. Turn this setting off if you prefer these sounds to come across in the performance from the source audio.
Pitch Shift is used to change the pitch of the morphed sample from the target voice’s natural pitch. The best results come from using a range of +/- 2 semitones, however the setting allows for a wider range if you wish to experiment. This setting can improve the synthesis where there is a large difference in pitch between the input and target voices so it is worth trying different settings to get the best output.
Target Prosody is used to adjust the weighting between the input voice and the target voice’s natural performance characteristics. A higher Prosody (closer to 100%) will reduce the likeness to the input performance and take more performance from the target voice model.
Age Shift changes the output between younger sounding (dial to the left) and older sounding (dial to the right).
Gender Shift changes the output between highlighting more masculine qualities (dial to the left) or more feminine qualities (dial to the right) in the voice.
Power Envelope can be used to smooth out dynamic changes in longer morphs. If you find the synthesis is performing inconsistently across the file, then turning this ON can help to improve your morph outputs.
Post-Processing sharpens the sound and reduces artefacts and noise in the synthesis. By default this is set to 80% however higher or lower settings may be appropriate for your audio. This setting is not available on the Fast models due to the nature of the synthesis process.