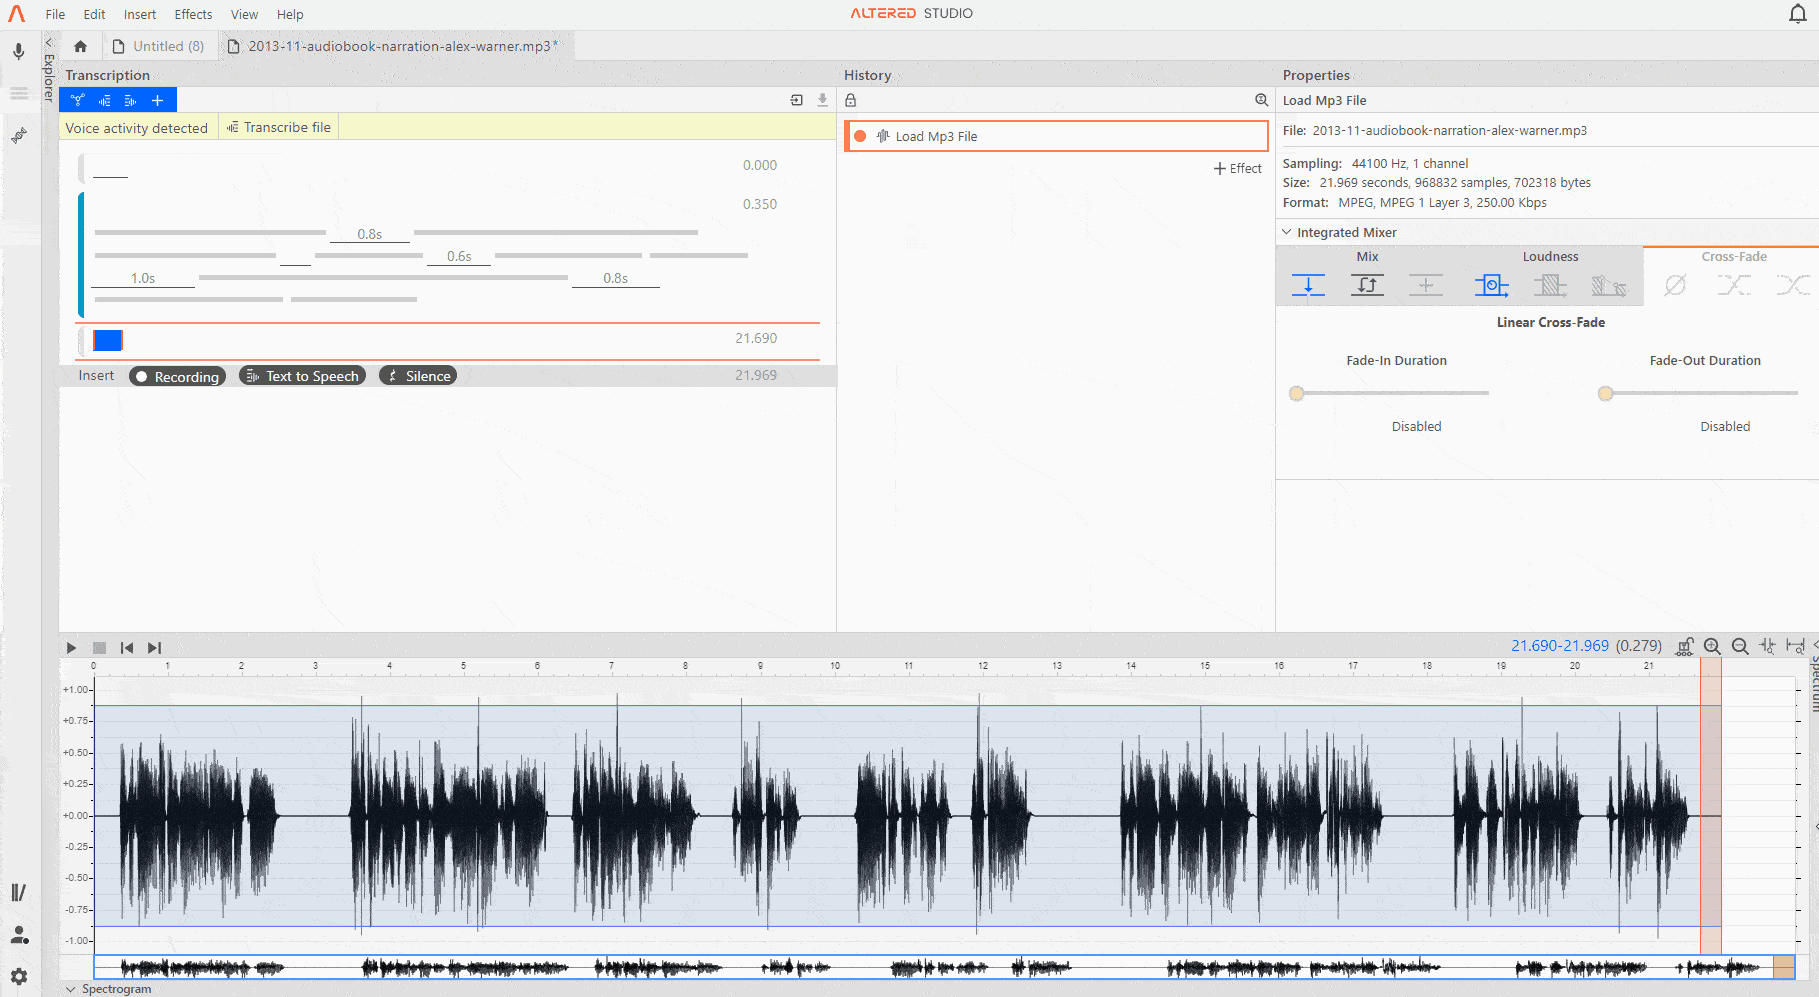
1. A helpful feature of Altered Studio is the History panel, which shows all actions that have occurred on the audio file.
2. Double-clicking on an effect layer in the History will select the corresponding region on the waveform.
3. When working with an audio file or block in the Transcription Editor, it is important to work in a logical order, as making changes in the History can affect layers further down. For example, a suggested order would be
i. clean the file (trim silences, cut any unrequired sections etc);
ii. apply audio effects (resample, gain, fade etc);
iii. transcribe the edited file;
iv. perform morphs to the whole or part of the file.
4. It is best practice to do a transcription before performing synthesis to make it easier to select words on the waveform when morphing a file into different voices, and also to ensure that the Text Reinforcement feature (where available) can function correctly in the morph effect. Working with blocks in the Transcription Editor is an easy way to quickly transcribe and then morph parts of your file.
5. By default the history is locked so that all changes occur sequentially. When a new effect is added the previous history layer will be greyed and locked to avoid any changes being made.
6. For advanced users, unlocking the history allows users to make changes to previous edits and flow those changes through the history list. Refer to Advanced History Modifications for more information.
